So, you’ve decided on the shed you want – how wide, how high, how many doors, skylights and windows, the colour and, maybe most importantly, the price. Now you need to prepare your chosen site for building it. The next steps depend on two things: the design of your shed and the natural contour of your site.
Concrete Pad
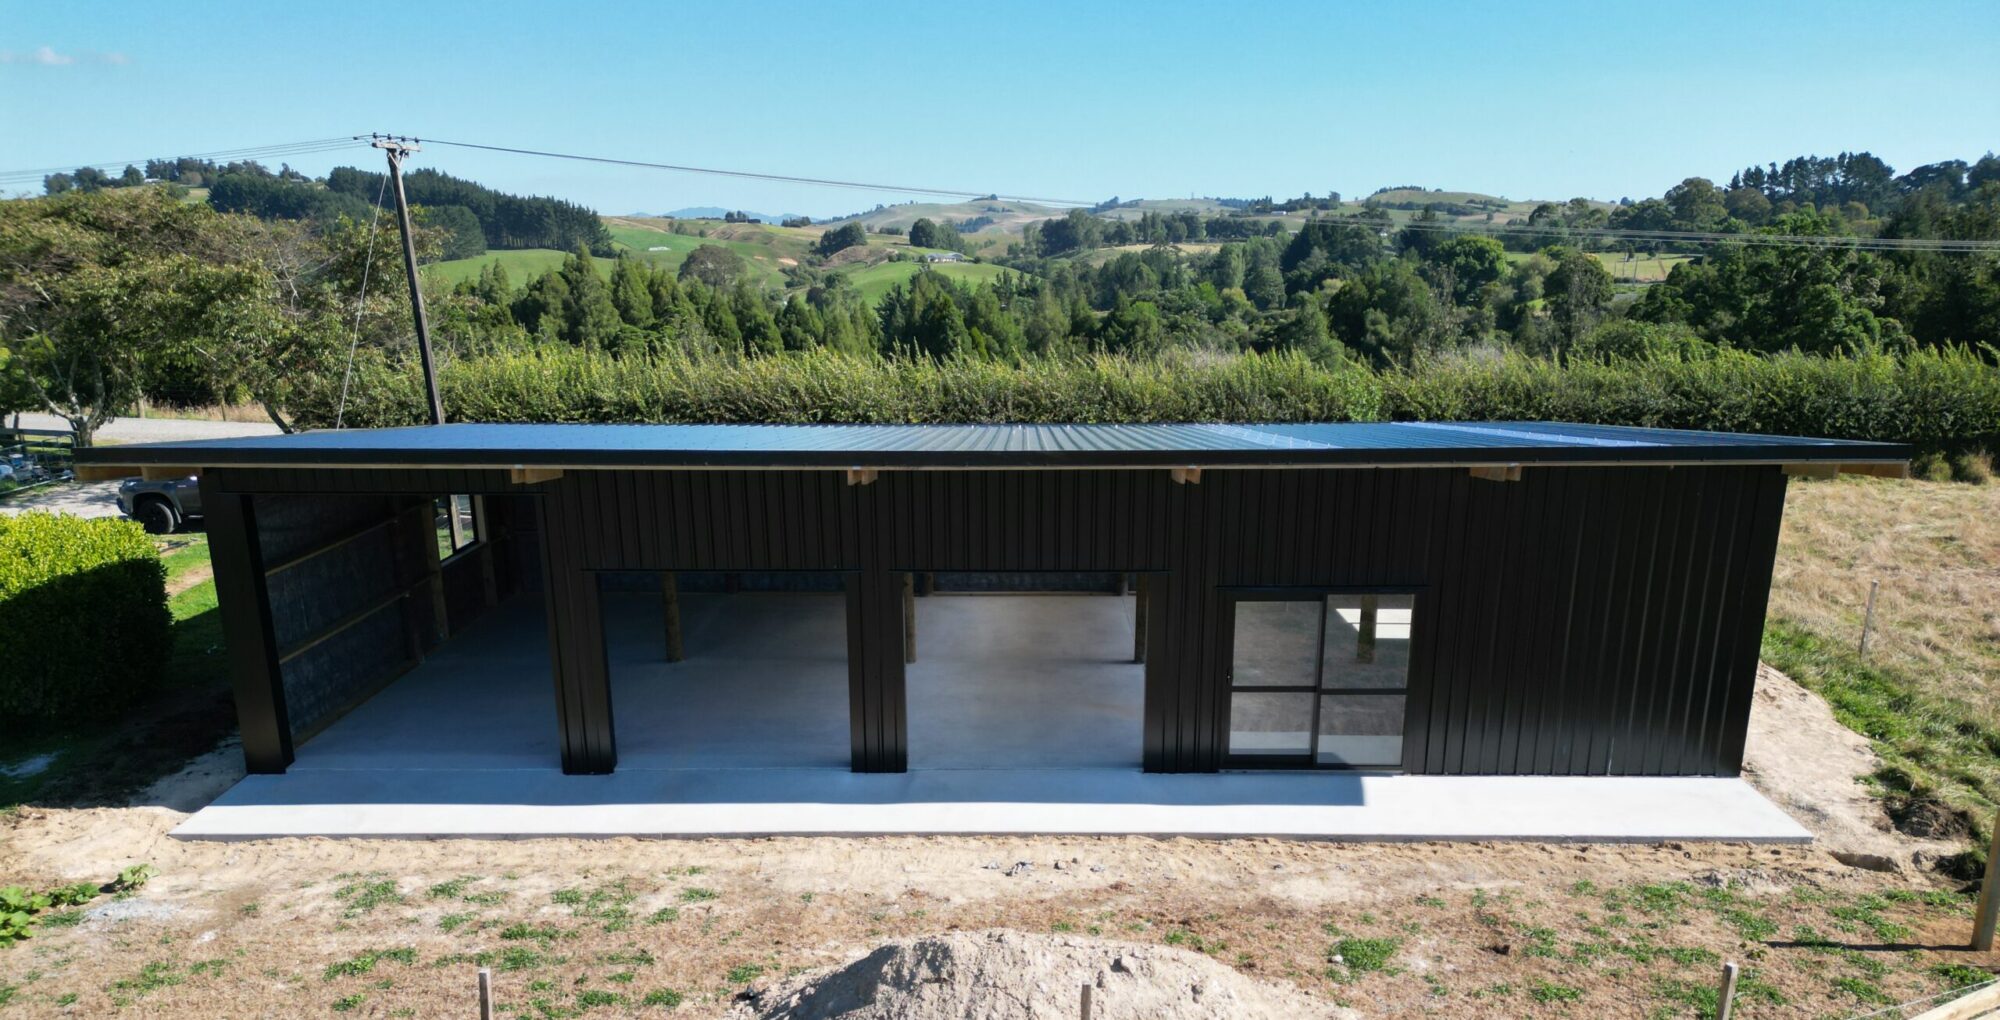
If your shed has a concrete pad, you’ll need to create a level, compacted and concrete-ready platform. If your ground is of good quality and can take the load easily, then site preparation is quite simple:
Remove topsoil until you’re down to the hard ground, then spread 200-400mm of 40 to 65mm aggregate (AP40 – AP65) with a thinner layer of 20mm aggregate (AP20) on the top. Get the gravel level, then use a compactor to create a solid base for the concrete to sit on. You might need to do some fine-tuning to the gravel to remove any bumps or depressions. Read more about different types of aggregate here.
A good tip is to make your gravel area 800mm wider around the actual shed pad, so it’s easy to move around your shed while building it. If you’re using scissor lifts or other machinery to build with, you may want to make this apron even wider for safety reasons.
No Concrete Pad
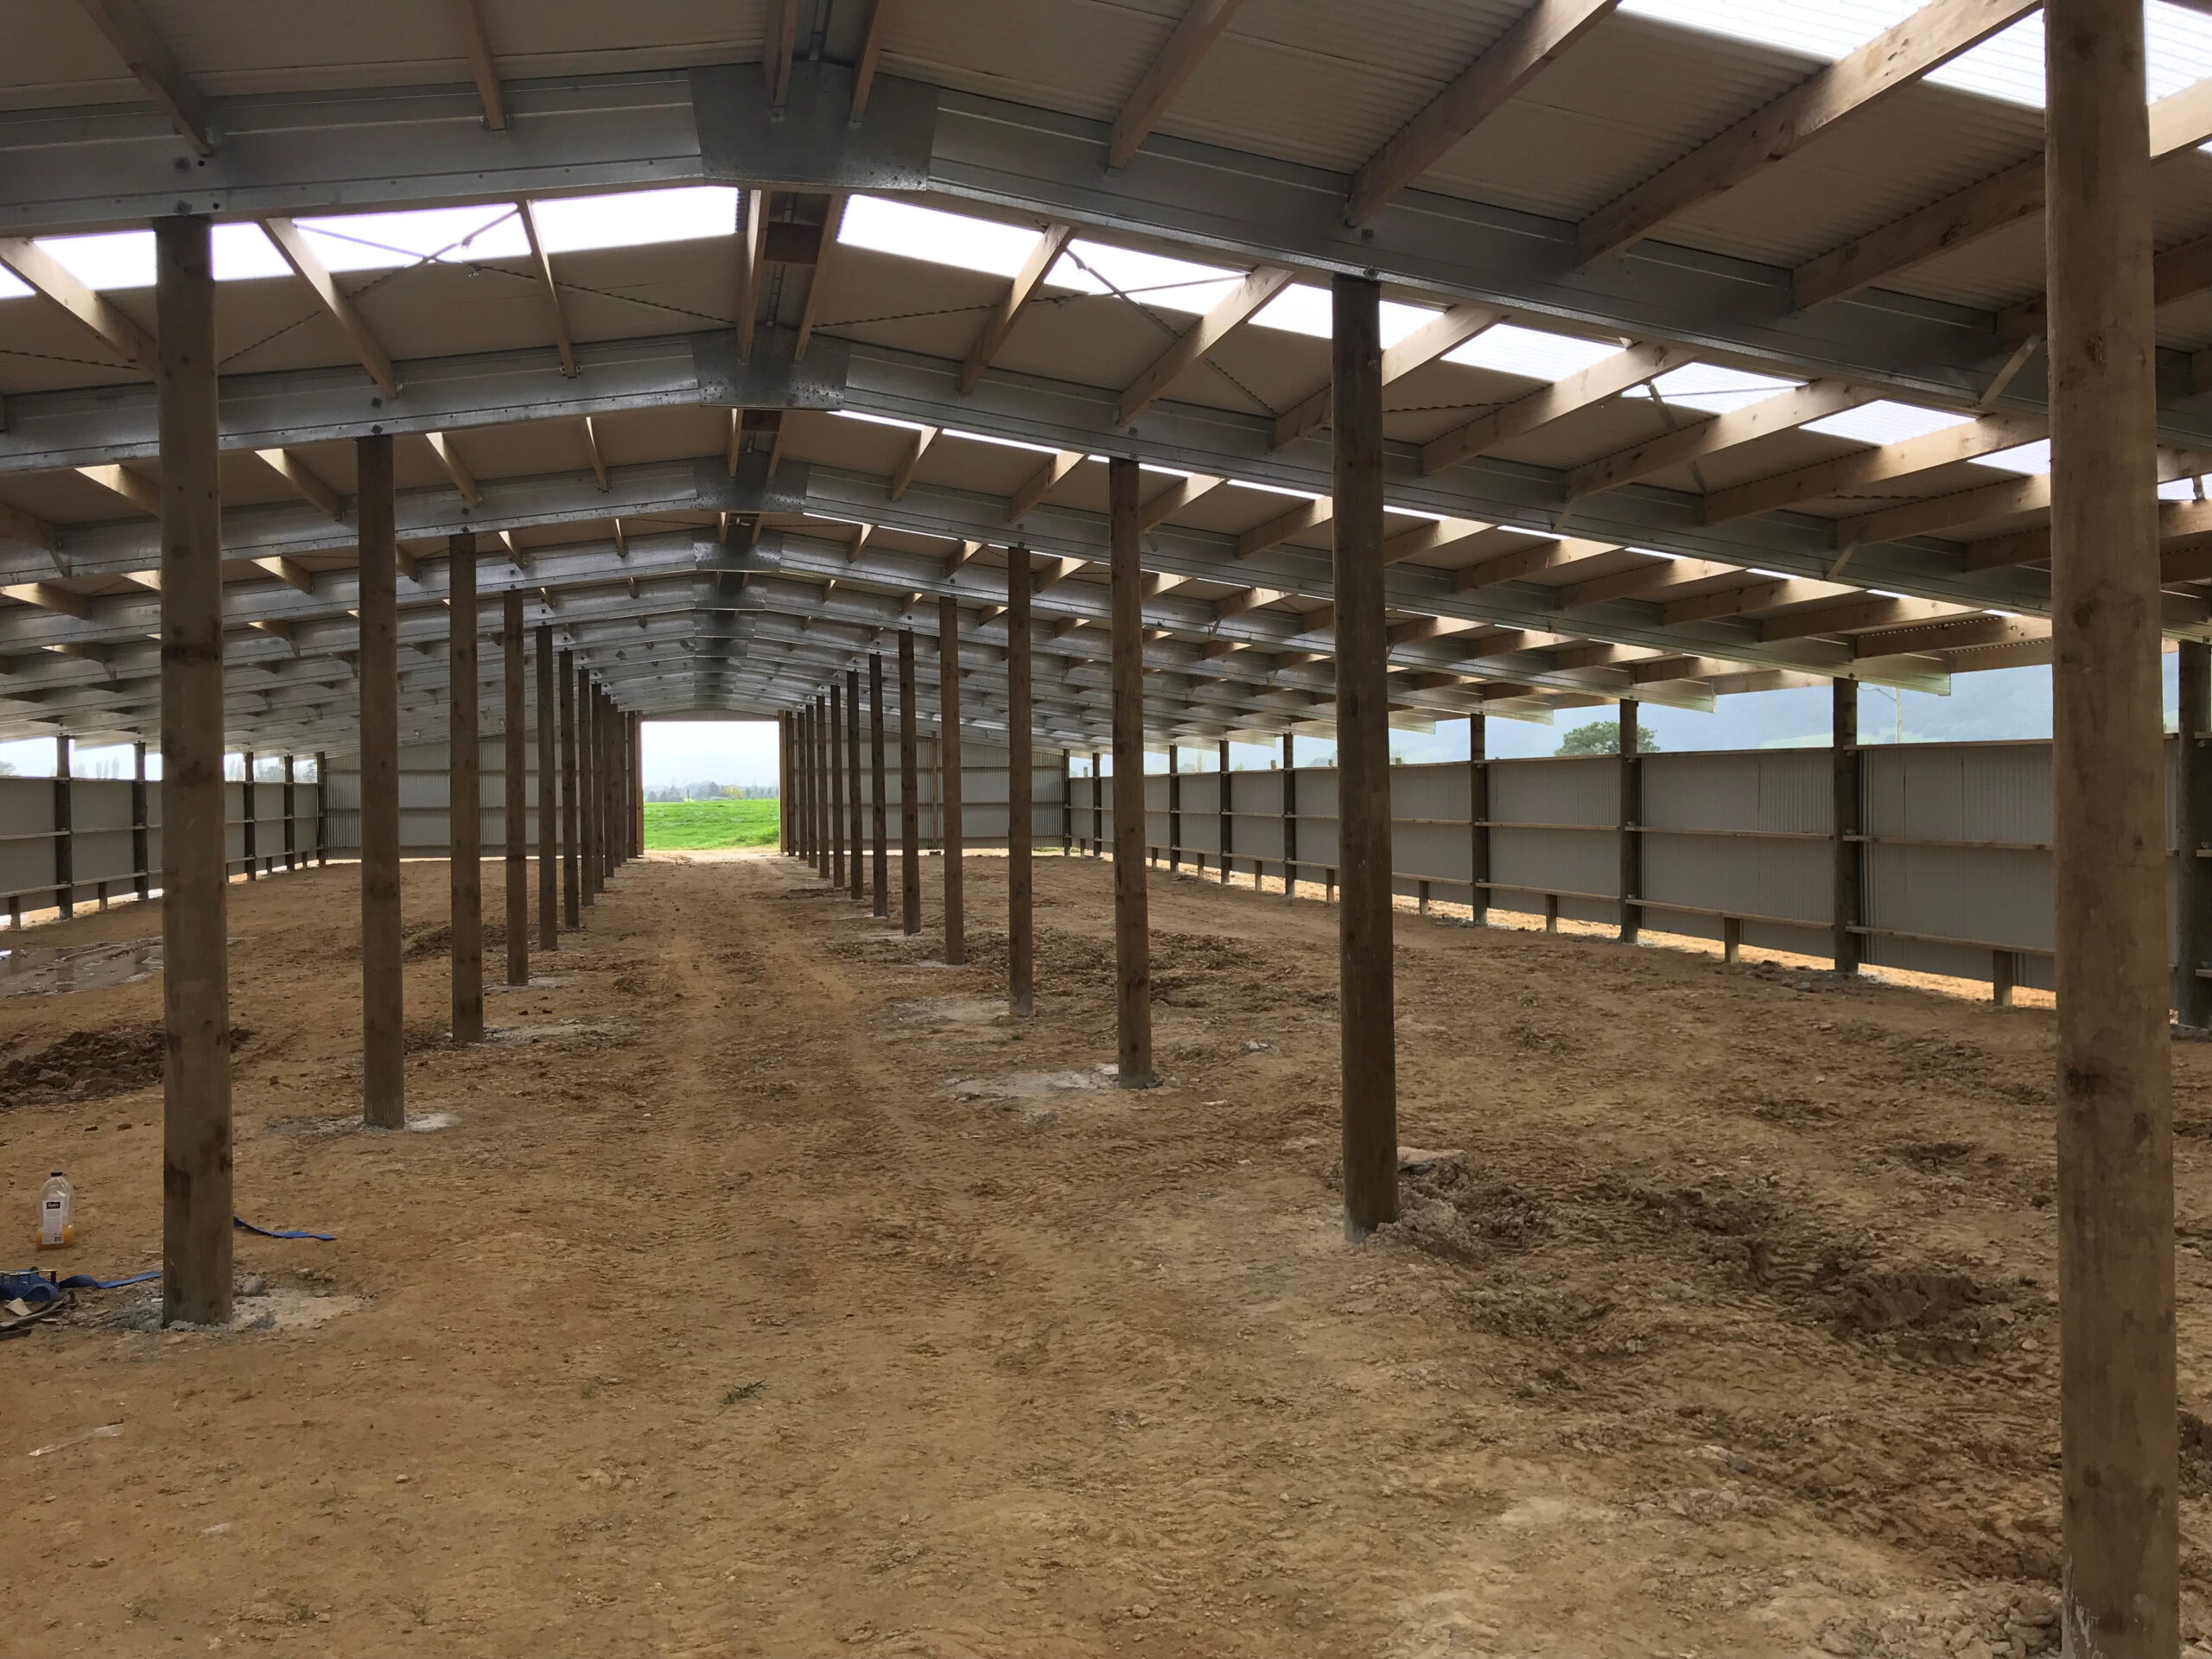
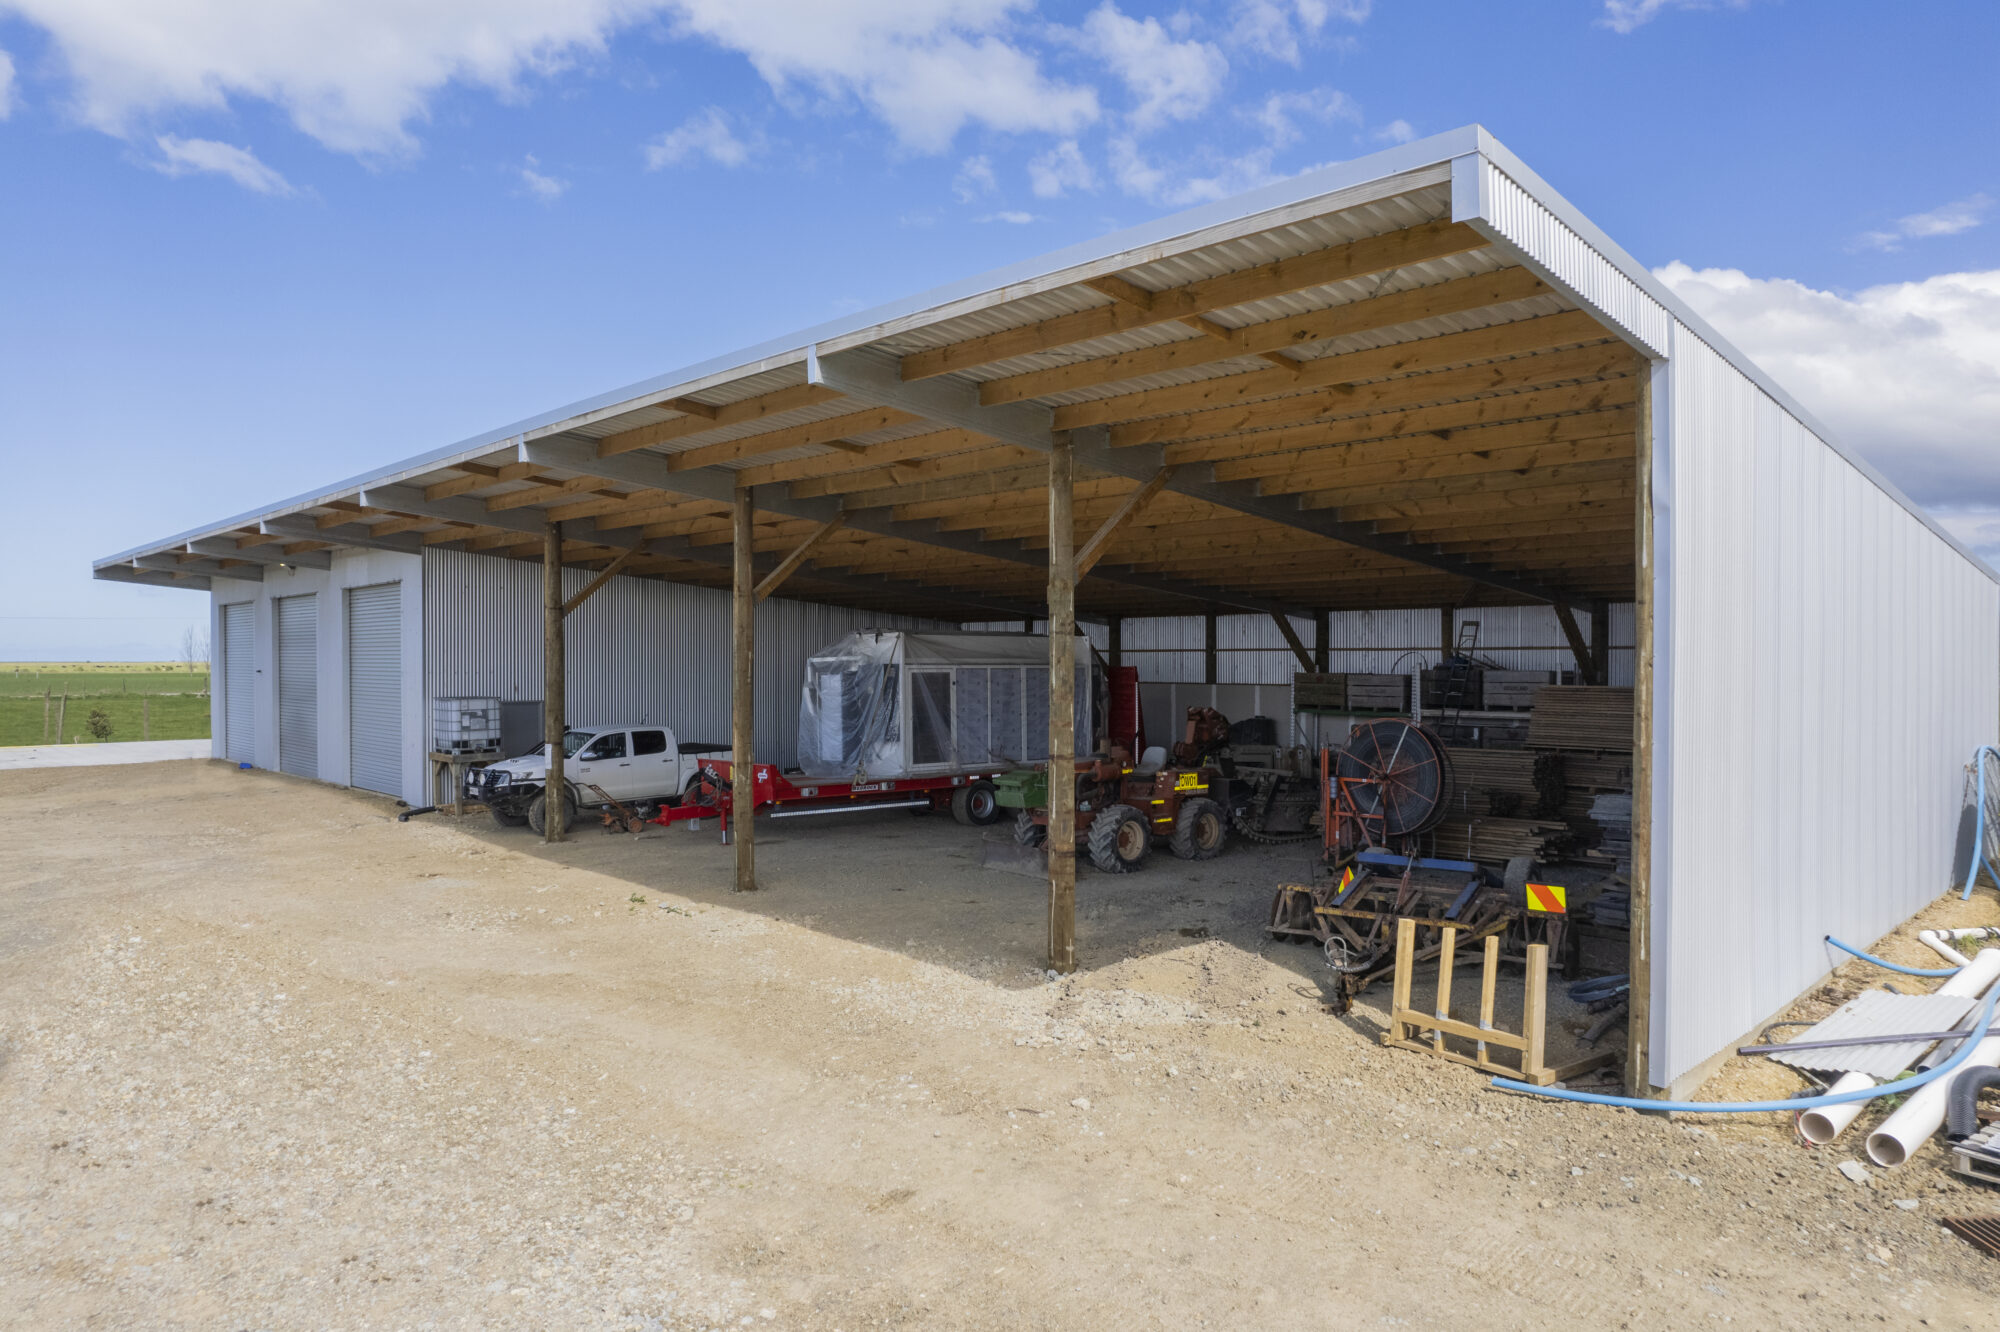
If your shed doesn’t need a concrete pad, site preparation is much easier. You’ll still need a level site to build on, but it doesn’t have the same exacting demands as a concrete one would.
Get rid of the topsoil and spread gravel 200 to 400mm thick around to stop the site from getting muddy, especially in winter. It helps to compact the gravel because it gives a more stable work surface for scaffolding and raised platforms when building up high.
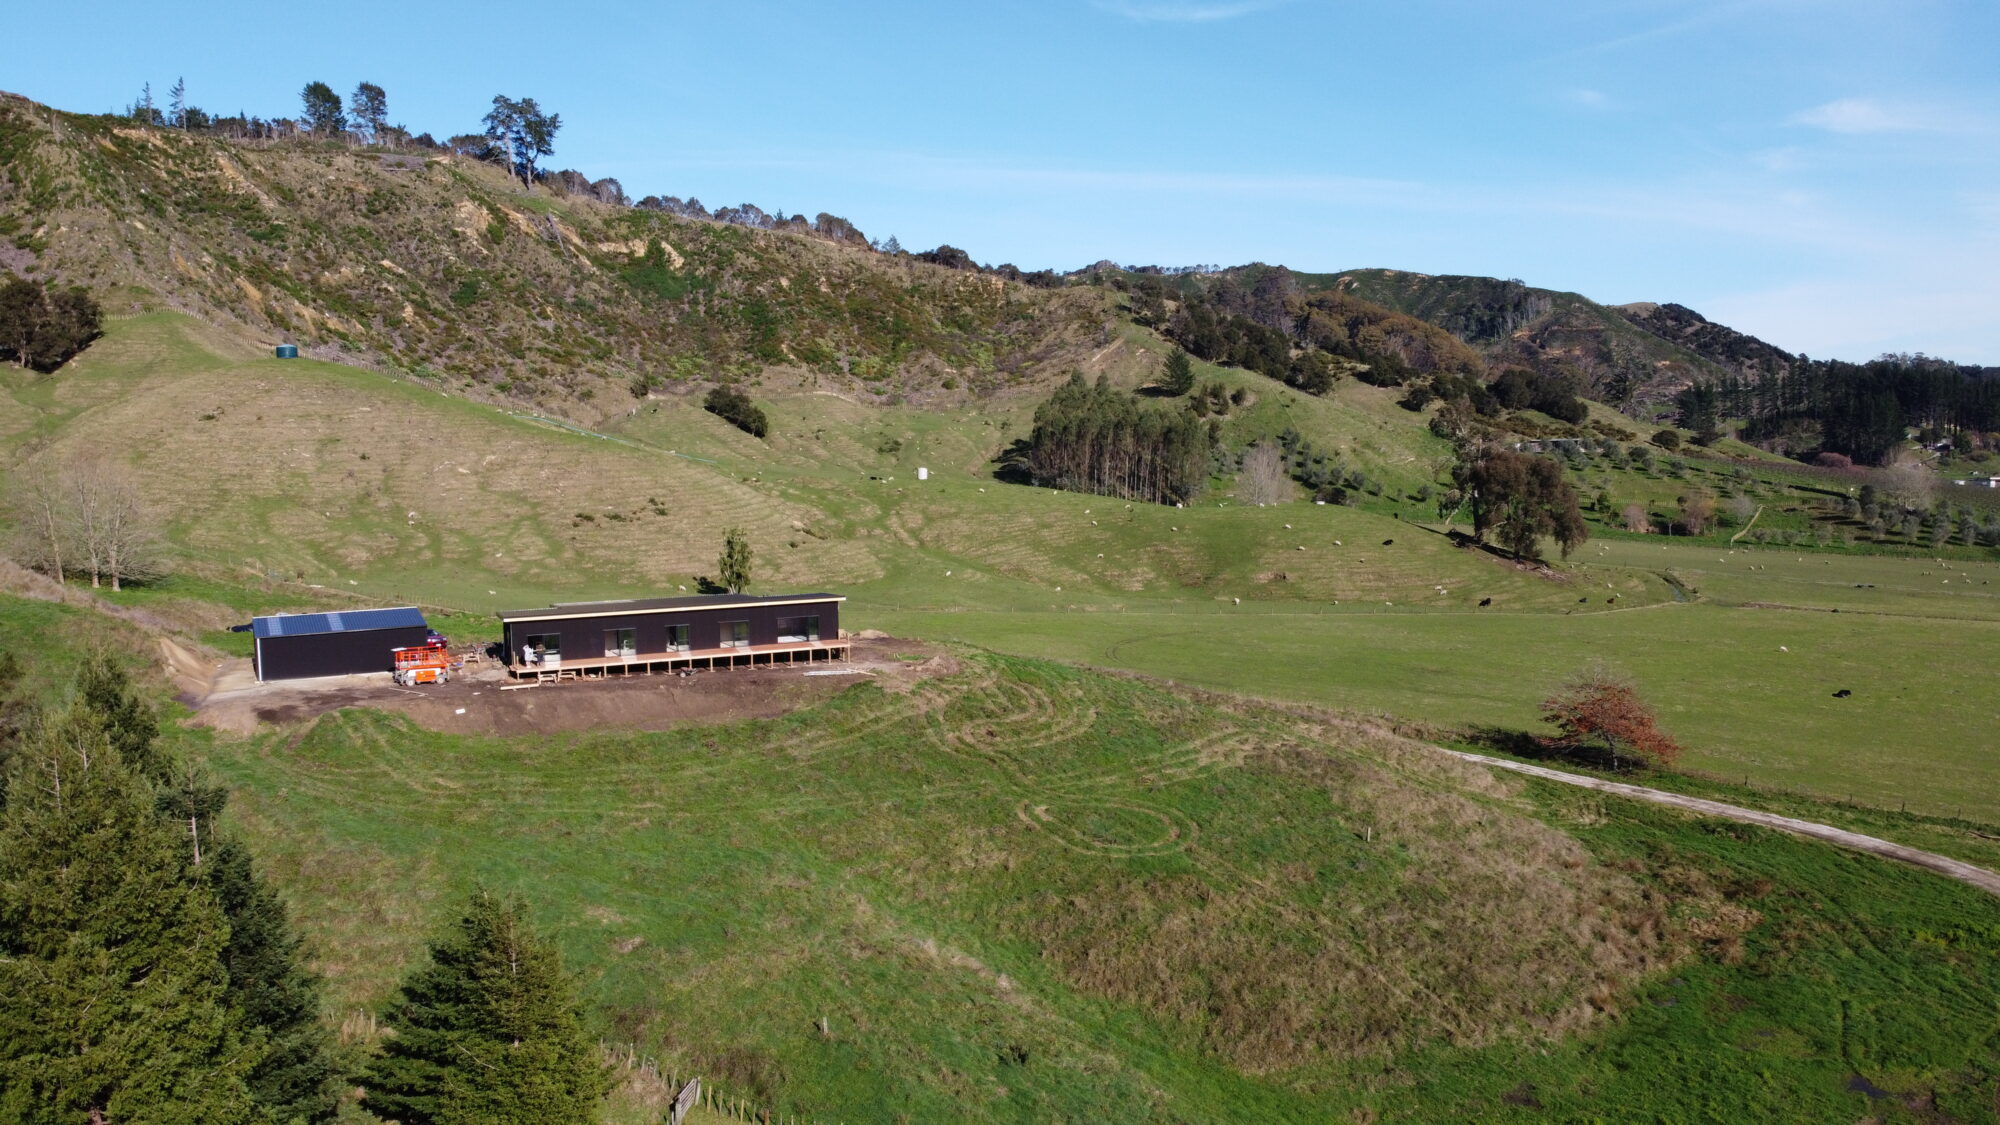
If your site slopes or is uneven, things get a little more complicated. You may need to dig into the hillside to create a level area, which depends completely on the angle of the slope and the size of your building site. Once the ground is removed, you might also need retaining walls to stop the cut from collapsing.
This work demands specialist skills and equipment, and we highly recommend speaking to an earthwork specialist. They’ll also have a good idea of what retaining walls and stormwater drainage require.
Once your site’s been established, spread it with gravel as described earlier.
Drainage & power
Site prep is the ideal time to plan your power and drainage. If you want to have power in your shed, now’s the time to be digging the trench to get it there – pointless digging up your site a second time. And let your Sparky know what kind of power you’ll be drawing: running two deep freezers year-round or charging a car are different kettles of fish to recharging the odd tool used around the house or garden.
Drainage means one of three options:
- digging a soak pit
- channelling run-off to a natural water course
- connecting to existing stormwater infrastructure which will be shown on your signed shed plans.
A lot of water comes off a roof – so check with your council as to what you need to do – it’s cheaper than having to meet their requirements later!
You should note that most shed quotes do not include costs for power and plumbing for drainage.
Poor Ground Conditions
This is a big one and it can add significant cost to your project because large foundations and specialist contractors are going to be needed. If your site is sandy, peaty or boggy, you going to need a Geotech or Ground Investigation report. These can cost between $1,500 – $3000+GST but your council won’t sign off consent without one if your site’s ground conditions fall into these categories.
An engineer or surveyor will dig test holes around the build platform. These holes are several meters deep, showing the layers of soil to determine exactly what the ground consists of. They’ll also do tests to reveal exactly how hard the ground is and how much weight it will support. After this, they’ll state what foundations are needed to meet council regulations, or another course of action.
Council will have a pretty good idea of what ground conditions in your area are like, thanks to previous builds in your area. Failing that, a Geotech report will tell you everything you need to know and could well save you a big unplanned-for outlay for extensive foundations.
In short – usually, site prep for a standard pole shed is very simple. Sometimes, more specialist skills and equipment are needed to meet council regulations. Our advice, if you’re unsure of your site’s ground conditions, is to always speak with your local council first!